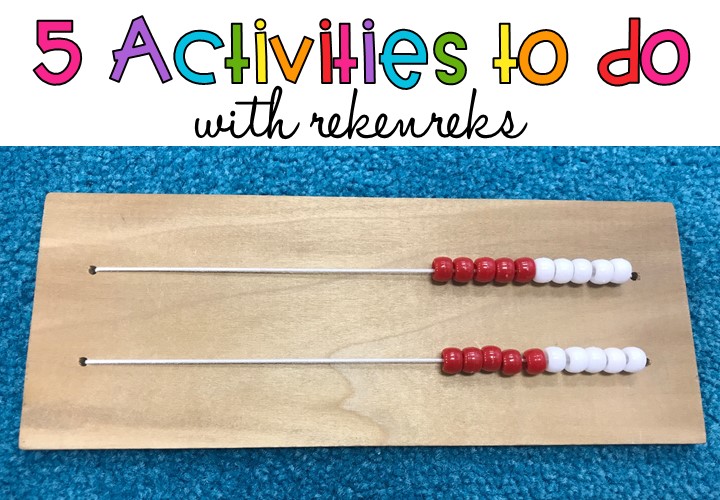
Are you interested in using rekenreks with your students, but you’re not sure how? A few years ago, I was in the same boat. I had been to a math training that used rekereks and I couldn’t wait to use them in my classroom. I made a class set out of cardboard and proudly brought them to school. Except I had no idea what to do with them! I had learned a game or two, but needed guidance with how to teach my students about them. In this post, I’ll show you how I introduce rekenreks to my students and some of the first activities I do with them.
Introducing Rekenreks
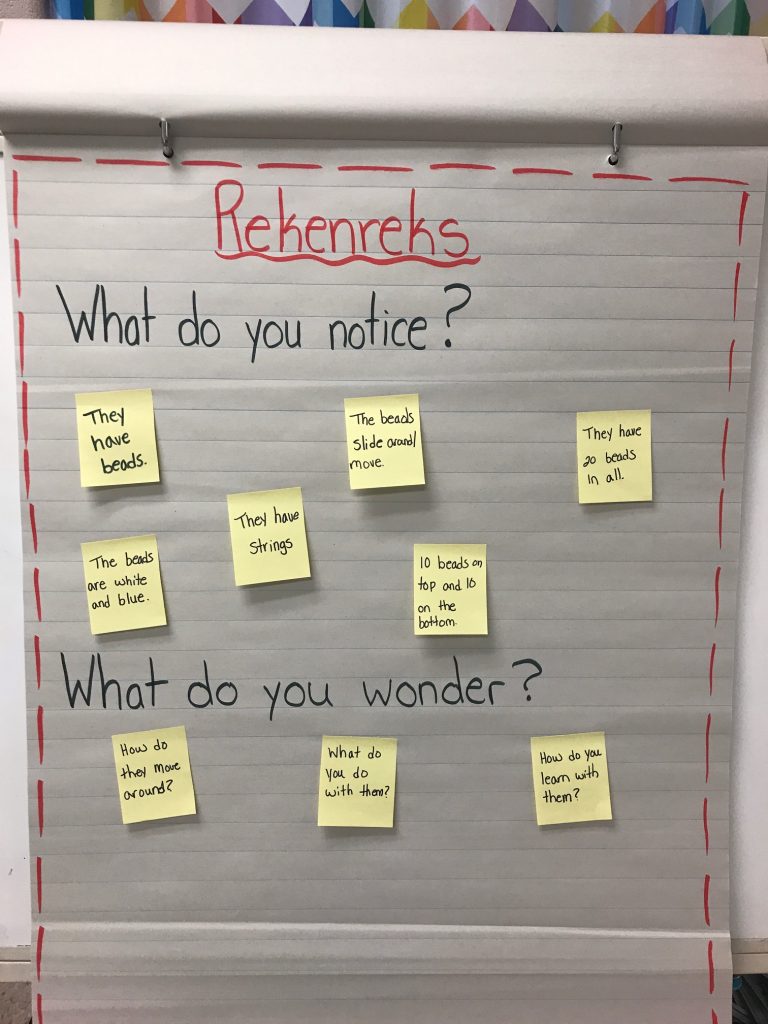
Like any other manipulative I introduce, I always allow my students to hold and play with the rekenreks for a while before we use them for instruction. After a few minutes of exploration I ask: What do you notice? What do you wonder?
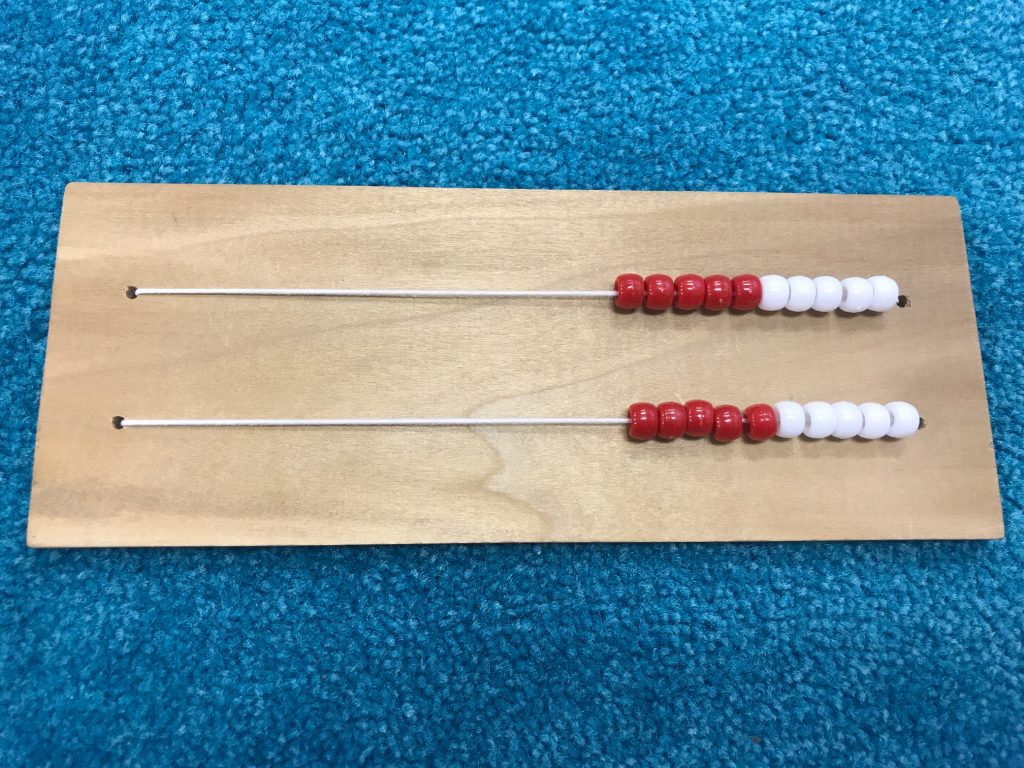
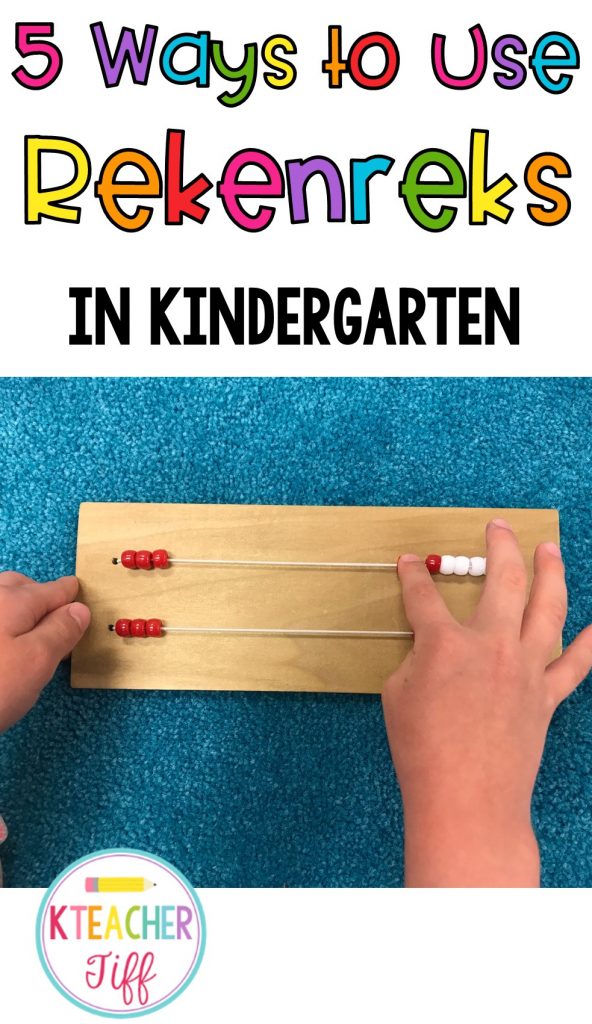
I then explain that a rekenrek is a tool that will help us work with and understand numbers. I show the students what the rekenrek looks like when it’s in “rest position.” This is when all of the beads are pushed over to the right.
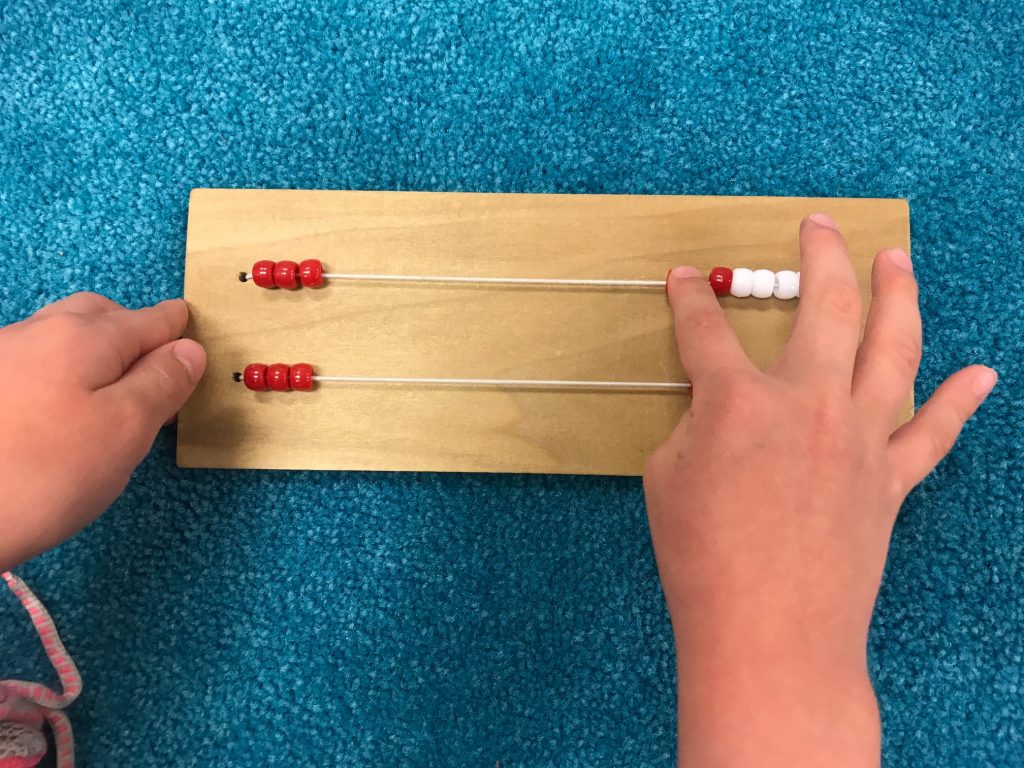
Next, I model how to make a number by sliding beads over to the left. I invite students to make the same number on their rekenreks. Once your students are comfortable with the procedures for using the rekenreks, you are ready to use them for number talks, games, and problem solving!
5 Favorite Activities for Rekenreks
- What’s my Number?- Create a number on your own rekenrek and show it to the students quickly (3-5 seconds). Ask the students to tell you what number they saw.
- Show Me- Hold up a number card or call out a number. Have the students create the number on their own rekenreks and then hold them up to show you. Record different ways students made the number on chart paper.
- Story Problems- Use rekenreks to model story problems. “5 ducks were swimming on a pond. 2 more ducks came to join them. How many ducks are swimming on the pond now?”
- What’s My Way?- Invite the students to make a target number on their rekenreks. At the same time, you create the number on your own so the students can’t see. Have students share the way they made the number, in an attempt to guess “your way.” For example, say the target number is 6. You made 6 on your rekenrek with 4 on the top and 2 on the bottom. Sally shares out that she made 6 with 3 on the top and 3 on the bottom. You respond, “that’s a great way to make 6! 3 on the top and 3 on the bottom! But it’s not my way!” Continue calling on students until someone shares that they made 6 with 2 on the top and 2 on the bottom. “Congratulations! You guessed my way!”
- How Many More?- Choose a target number. Push a portion of the number over on the top row. The students will push the remaining beads needed to make that number on the bottom row. For example, say the target number is 10. You push 6 beads over on the top row. Have students do the same. Then ask, “How many more do we need to make ten?” The students will then push 4 beads over on the bottom row.
I hope I gave you some ideas to help get you started with rekenreks in your classroom. They are a powerful learning tool!
Great ideas. I also made a class set of rekenreks but didn’t do much with them. I will definitely try these out this upcoming year.